How to Grow Carrots in a Container (Step-by-Step Guide)
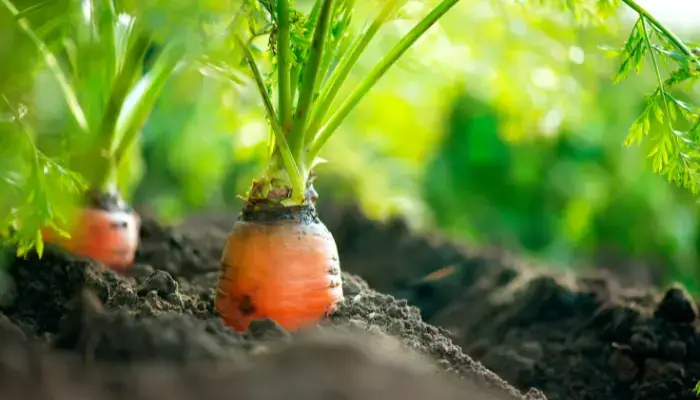
Growing carrots in containers is a rewarding and accessible project for beginners. Even without a large garden, a simple pot on a balcony, patio, or sunny spot can yield fresh, sweet, and crunchy carrots at home. With proper setup and attentive care, you’ll be amazed at how easily seeds turn into a healthy harvest.
Carrots thrive in containers with minimal maintenance, but require attention to soil quality, watering, and spacing. Properly grown, container carrots are often cleaner, straighter, and simpler to harvest than those in dense garden soil.
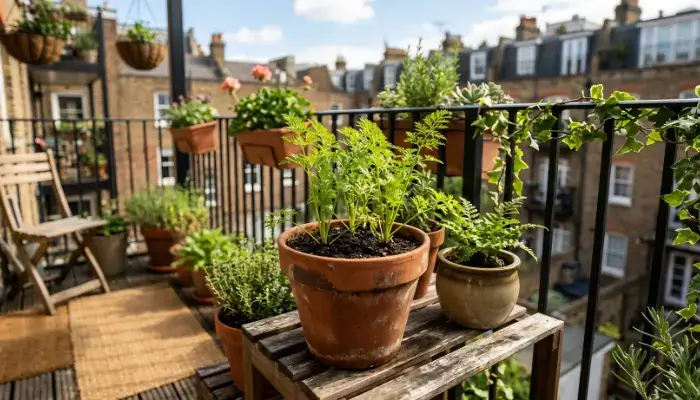
This guide walks you through each step using straightforward methods suitable for beginners. Whether you’re choosing the right container, preparing the proper soil mix, or determining the perfect harvest time, you’ll gain the know-how to grow robust carrots. Gardening for food, fun, or relaxation starts here. 🥕
1. Choose the Right Container
Selecting the correct container is essential for successful carrot growing. Carrots, as root vegetables, need sufficient depth to form straight, healthy roots. Choose a container at least 25–30 cm (10–12 inches) deep to allow roots to expand fully. Too shallow, and carrots may become stunted or twisted.
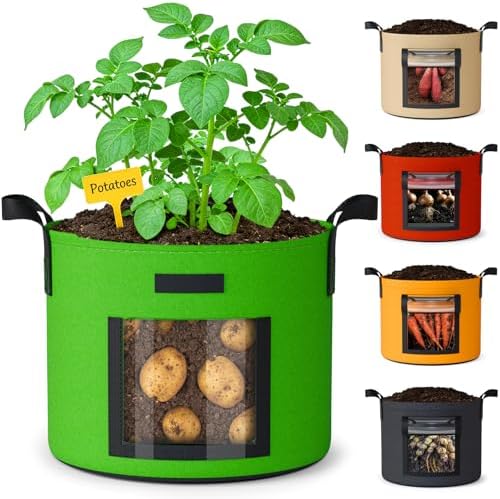
Container width is also critical. A wider container supports more carrots and better spacing, enhancing airflow and growth. Whether using a round pot, a rectangular planter, or a recycled container, ensure it has good drainage holes to prevent water accumulation and root rot.
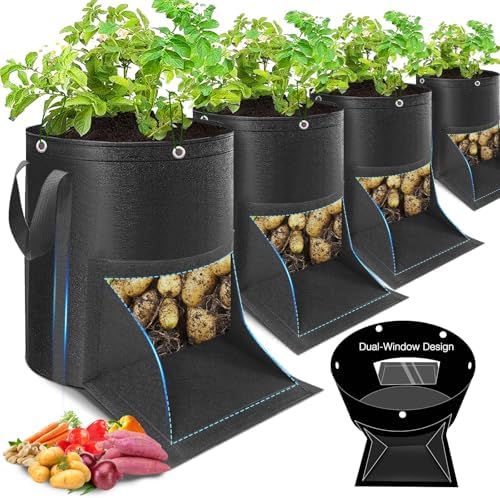
When it comes to materials, plastic, clay pots, and grow bags are all excellent choices. Plastic containers are lightweight and retain moisture well, while clay pots offer better airflow but may dry out faster. Grow bags are also popular because they are flexible, affordable, and provide excellent drainage.
👉Tip: Opt for short or round carrots for containers. These varieties fit a limited space and are simpler to grow.
2. Select the Right Carrot Variety
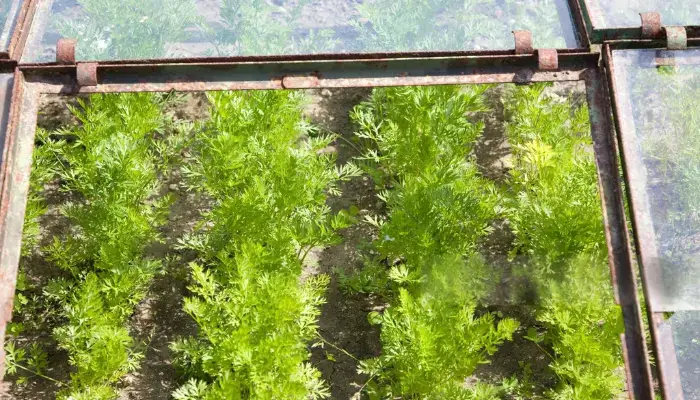
Selecting an appropriate carrot variety significantly impacts container gardening success. Compact, fast-growing types adapt readily to pots and perform better in limited space. These varieties suit shallow or medium-depth containers and resist deformation.

Nantes carrots are straight and sweet, ideal for fresh eating. Chantenay carrots are short, hardy, and suitable for shallow containers. Baby carrots mature quickly and are space-efficient for beginners.
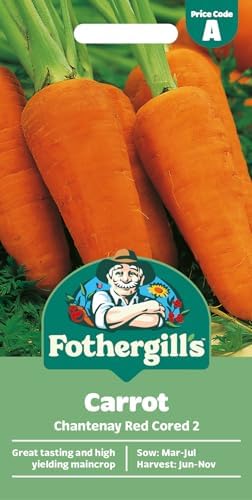
These compact varieties don’t require very deep soil, which reduces the risk of roots hitting the bottom of the container and becoming forked or stunted. They also tend to grow more uniformly, giving you a better harvest overall.
👉Tip: Check seed packets for root size and growth time. Picking the right variety prevents future growing problems.

3. Prepare the Perfect Soil
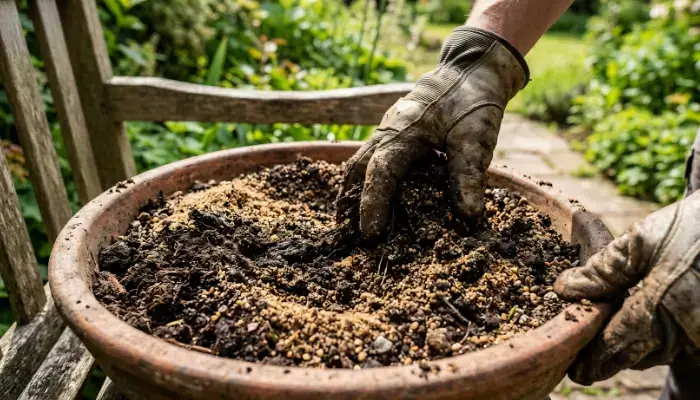
Correct soil preparation is vital for healthy, straight container carrots. Soil texture shapes carrot growth; loose, light, well-draining soil allows roots to develop without restriction. Dense or compacted soil results in short, twisted, or forked carrots.
Mix 50% potting soil, 30% compost, and 20% sand for the ideal carrot-growing environment.
Before filling your container, make sure the mix is well blended and free of clumps. Lightly moisten the soil so it’s damp but not soggy. This helps seeds settle in easily and supports even germination.
👉Tip: Avoid stones, sticks, or very hard soil. These cause carrots to split or grow unevenly.
Proper soil preparation is a vital step for achieving a successful carrot harvest.
4. Sow the Seeds Properly
Sowing carrot seeds accurately greatly influences plant health. Carrot seeds are tiny and fragile, so they require gentle handling. Sprinkle them evenly over prepared soil—avoid concentrates, as overcrowding produces weak seedlings and misshapen roots.
Cover seeds with 0.5 cm of soil. Water gently to avoid displacing seeds.
👉Tip: Keep 2–3 cm between seeds to prevent overcrowding. Thin extra seedlings later for enough space.
Keep the soil consistently moist during the germination period, which usually takes 1–2 weeks. With careful sowing and patience, you’ll soon see healthy carrot seedlings emerging.
5. Watering Routine
A consistent watering schedule is crucial for healthy container carrots. Carrots require steady moisture, especially when young, but avoid excess. Aim for evenly moist soil; too much can lead to root rot, while dry soil slows growth and affects texture.
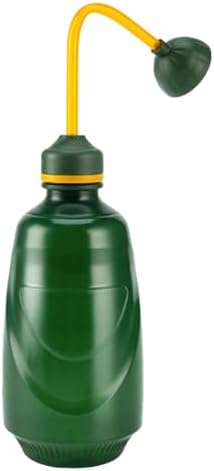
In warm weather, containers dry quickly, so check the soil often and water when dry. Water gently in the morning or late afternoon to reduce evaporation.
As the carrots begin to develop deeper roots, you can reduce watering slightly, but never let the soil dry out completely. Deep, occasional watering encourages roots to grow longer and stronger.
👉Tip: Water carrots consistently to avoid cracking. Irregular watering causes root problems and poor harvest.

6. Sunlight Requirements
Carrots depend on sunlight for robust, flavorful growth in containers. Ensure at least 6–8 hours of direct sunlight daily to foster strong roots and dense foliage. Insufficient light causes weak plants, thin roots, and slow growth.
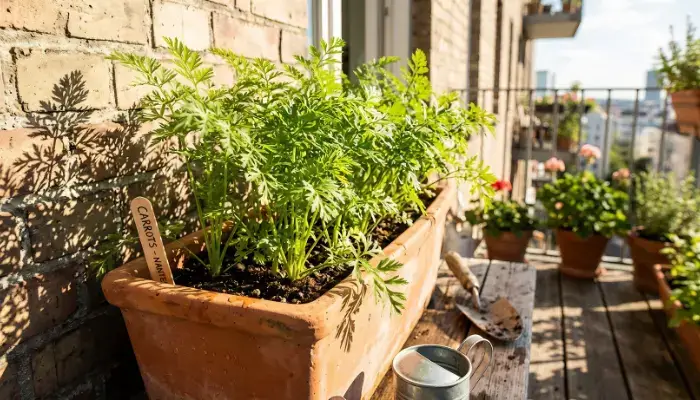
When choosing a spot for your container, look for a bright, sunny location such as a balcony, patio, terrace, or garden area that receives consistent sunlight throughout the day. South- or west-facing areas are usually ideal because they receive the most sunlight. If you’re growing indoors, place your container near a sunny window so it receives plenty of natural light.
Sunlight helps the plant carry out photosynthesis, which is essential for root development. Strong sunlight encourages the plant to store energy in its roots, resulting in sweeter, more vibrant carrots. If your container doesn’t get enough sunlight, the plant may focus more on leaf growth instead of root formation.
If space is limited, you can rotate the container every few days to ensure all sides receive equal light. Consistent sunlight, along with proper care, will help your carrots grow straight, healthy, and full of flavor.
7. Thinning the Seedlings
Thinning is one of the most important steps in growing carrots, yet many beginners skip it. When carrot seedlings reach about 5–7 cm in height, it’s time to thin them out. At this stage, the plants are still young, but you can clearly see which ones are stronger and healthier.
Thin seedlings to 4–5 cm apart when they reach 5–7 cm. Remove weaker ones gently to give space for healthy growth.
When carrots grow too close together, they compete for nutrients, water, and space. This often results in thin, twisted, or stunted roots. Proper thinning allows each plant to receive enough resources, helping them develop into larger, straighter, and healthier carrots.
👉Tip: Thinning seedlings improves airflow. Good airflow lowers pest and disease risk.
Take your time during this process and be gentle to avoid damaging the remaining seedlings. It may seem like a small task, but proper thinning makes a big difference in the final harvest quality.
8. Fertilizing
Fertilizing carrots correctly is key to getting a healthy, well-balanced harvest. Unlike leafy vegetables, carrots don’t need a lot of nitrogen. In fact, using a low-nitrogen fertilizer is important because too much nitrogen encourages leafy top growth instead of root development. When this happens, you’ll end up with big green tops but small, underdeveloped carrots.

A balanced or root-focused fertilizer works best for container-grown carrots. Look for one that is slightly higher in phosphorus and potassium, as these nutrients support strong root formation. Apply fertilizer lightly every 2–3 weeks to provide a steady supply of nutrients without overwhelming the plants.
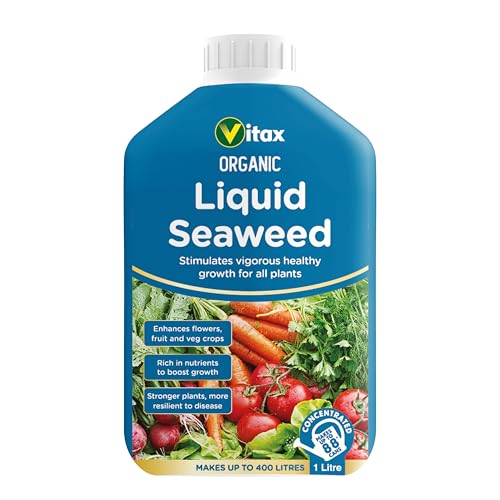
If you’ve already mixed compost into your soil, your carrots will have a good nutritional base. Fertilizing then becomes a way to maintain growth rather than boost it aggressively. Always follow the recommended dosage on the fertilizer label, as overfeeding can do more harm than good.
👉 Remember: too much nitrogen leads to leafy tops and small roots, which is the opposite of what you want.

Liquid fertilizers or diluted organic feeds, such as compost tea, are great options because they are gentle and easy for plants to absorb. With the right feeding routine, your carrots will grow steadily, producing firm, flavorful roots ready for harvest.
9. Pest & Problem Control
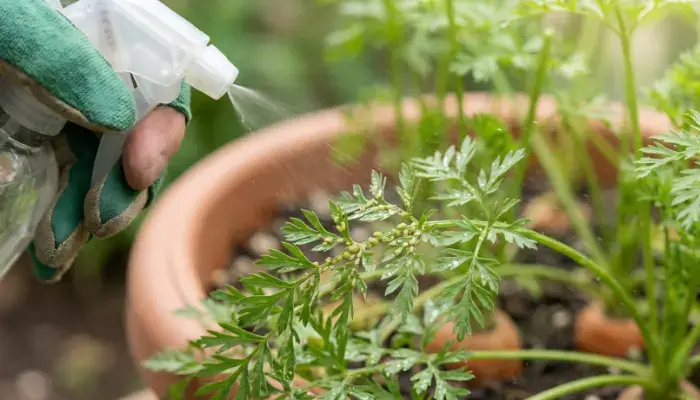
Pest and problem control is an important part of growing healthy carrots in containers. Even though container gardening reduces many risks, some pests can still appear, especially if conditions are warm and humid. The most common pests you should watch for are aphids and carrot flies.
Aphids are small, soft-bodied insects that usually gather on young leaves and stems. They suck plant sap, which can weaken the plant and slow down growth. Carrot flies are more serious because their larvae feed on the roots, causing damage that affects the quality of your harvest.
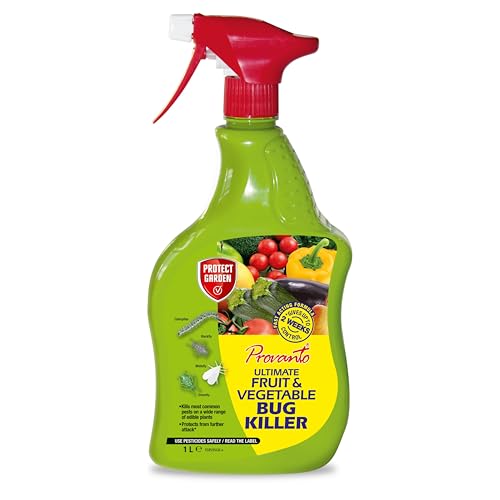
The best way to manage these problems is through simple, natural methods. One effective solution is using a neem oil spray. Neem oil acts as a natural pesticide, helping control aphids and discouraging other pests without harming the plant or the soil. Spray it lightly on the leaves, especially the undersides, every 7–10 days if pests are present.
Keeping your growing area clean is just as important. Always remove weeds, fallen leaves, and plant debris from the container. A clean environment reduces hiding spots for pests and improves airflow around your plants.
👉 Regular observation is key. Catching pests early makes them much easier to control and protects your carrot crop from serious damage.
10. Growing Time
Understanding the growing time of carrots is important for planning a successful harvest. In general, carrots take about 60 to 80 days to reach maturity, although this can vary depending on the variety you choose and the growing conditions. Fast-growing types like baby carrots may be ready on the earlier side, while larger or thicker varieties may need a little more time.
During this period, the plant goes through two main stages. First, the seedlings focus on developing healthy green tops, which help the plant collect energy through sunlight. After that, the plant begins to concentrate its energy on forming and thickening the root underground. This is the part we harvest as a carrot.
It’s important not to rush the process. Pulling carrots too early can result in small, underdeveloped roots, while leaving them in the soil too long can make them woody or less sweet. Checking the top of the soil for visible root size or gently brushing away soil near the base can help you judge readiness.
👉 A good rule is to follow the seed packet instructions and observe your plants regularly.
With patience and proper care, your carrots will be ready for harvest in about 2 to 3 months, rewarding you with fresh, crunchy, homegrown produce. 🥕
11. Harvesting
Harvesting carrots at the right time and in the right way is just as important as growing them. When your carrots are ready, you will usually notice the top of the root (just above the soil line) is about 1–2 cm thick. This is a good sign that the carrot has reached a suitable size and is ready for harvest. However, always check the variety and expected growing time before pulling them out.
Before harvesting, it’s very important to gently loosen the soil around the carrot. You can use your fingers or a small hand fork to carefully break up the soil. This step helps reduce resistance when pulling and prevents the carrot from snapping or breaking. Carrots grown in containers are usually easier to harvest, but care is still needed.
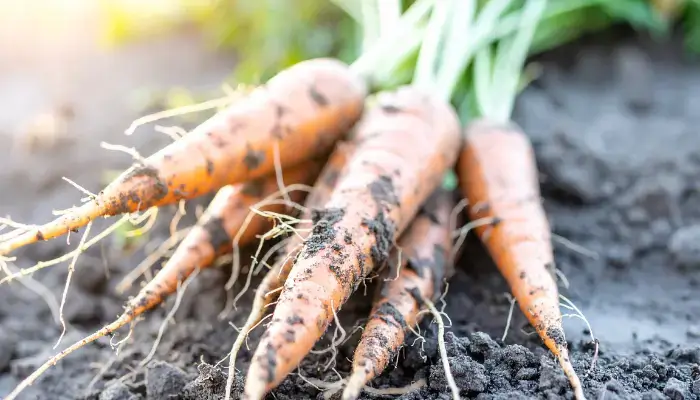
Once the soil is loose, hold the green tops firmly near the base and pull them up slowly and steadily. Avoid sudden jerks, as this can damage the root.
👉 One key tip: don’t wait too long to harvest. If carrots stay in the soil beyond their ideal maturity, they can become hard, woody, and less sweet.
After harvesting, brush off excess soil and enjoy your fresh, crunchy homegrown carrots immediately or store them in a cool place for later use.
Pro Tips for Growing Carrots in Containers
Choose deep, loose soil and avoid compact mixes to prevent forked roots. Always use short or Nantes-type varieties for best results in containers. Keep watering consistently—small daily amounts work better than heavy watering. Thin seedlings early to ensure strong root development. Place containers where they receive full sun for at least 6–8 hours daily. Use low-nitrogen fertilizer sparingly to avoid excessive leaf growth. Check moisture regularly, especially in hot weather, and never let soil fully dry out. Harvest at the right time to enjoy sweet, tender carrots before they turn woody.
conclusion
Growing carrots in containers is a simple and rewarding process when done with the right care and attention. From choosing the correct container and preparing light, loose soil to selecting suitable carrot varieties, every step plays an important role in achieving a healthy harvest. Consistent watering, proper sunlight, and timely fertilizing help the plants grow strong, while thinning and pest control ensure that each carrot has enough space and protection to develop properly.
Patience is also key, as carrots typically take 60–80 days to mature. Regular observation allows you to adjust care when needed and harvest at the perfect time. Remember, harvesting too early results in small carrots, while leaving them too long can make them tough and woody.
With a little effort and consistency, even beginners can enjoy fresh, sweet, homegrown carrots right from a pot or container. This process not only provides healthy food but also brings the joy of gardening into small spaces. By following these steps, you can confidently grow your own successful container carrot garden.
FAQ
Can I grow carrots in small pots?
Yes, but only if the pot is deep enough (at least 25–30 cm). Short varieties, such as Nantes or baby carrots, work best in small containers.
How long do carrots take to grow in containers?
Most carrots are ready in 60–80 days, depending on the variety and growing conditions, such as sunlight and watering.
Why are my carrots small or twisted?
This usually happens due to hard soil, overcrowding, or stones in the soil. Always use loose, sandy soil and properly thin seedlings.
How often should I water container carrots?
Keep soil consistently moist. Water lightly every day in hot weather, but avoid soggy soil as it can damage roots.
What is the best fertilizer for carrots?
Use a low-nitrogen fertilizer every 2–3 weeks. Too much nitrogen causes leafy growth and small, weak roots.